Many things can happen to cause various sound issues. Fortunately, there is a simple solution that works to fix almost all of them: Uninstall the sound driver.
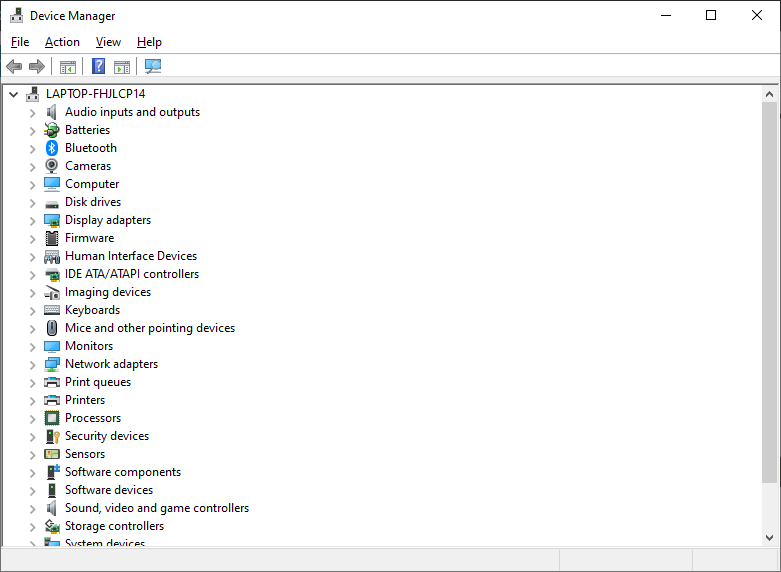
To do that, first type “Device Manager” into the search box next to the Start button. This will bring up the option for the Device Manager application as shown.
Left-click the icon for the Device Manager, and this will open the Device Manager application window shown below.
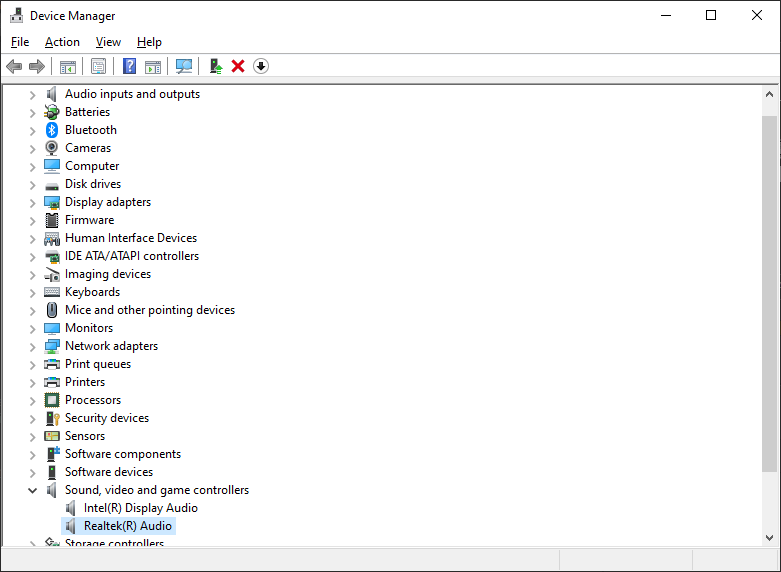
Left-click the arrow next to “Sound, video and game controllers” and double-click the icon for your audio device.
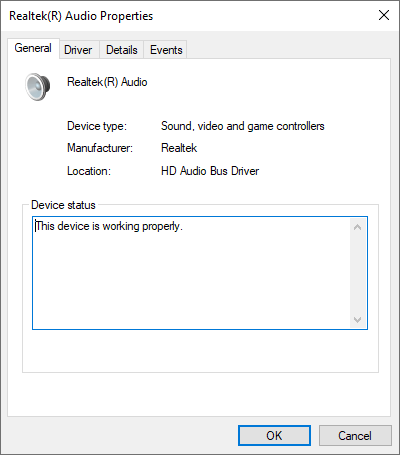
This will open the Properties dialog for your device.
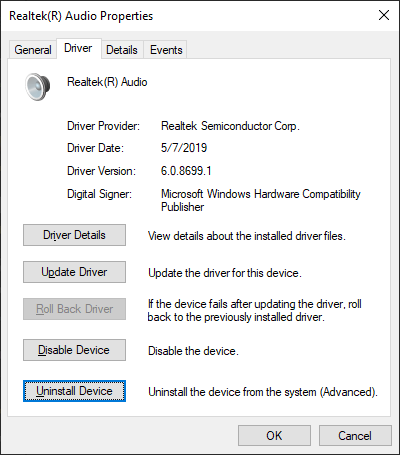
Then click the “Driver” tab, and you should see this:
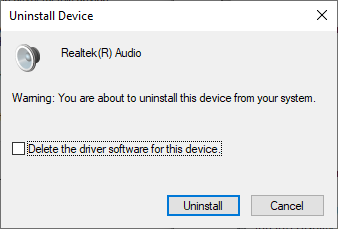
Left-click “Uninstall Device” and you will see this dialog.
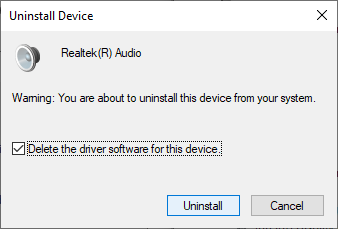
Left-click the box next to “Delete the driver software for this device,” and left-click the “Uninstall” button.
This will remove your drive. Restart your computer, and a new driver will be reinstalled automatically. This should fix your problem.
If you have any problems following these instructions, please consult our video on the subject. We begin by opening the Task Scheduler program. There are two ways to do this:
Click the Start Button
Click “Windows Administrative Tools” in the Start menu to open its submenu
Right-click “Task Scheduler” open the context menu and click “Run as administrator”
Enter “Task Scheduler” into the search box next to the start button
Click “Run as administrator” in the pop up dialog
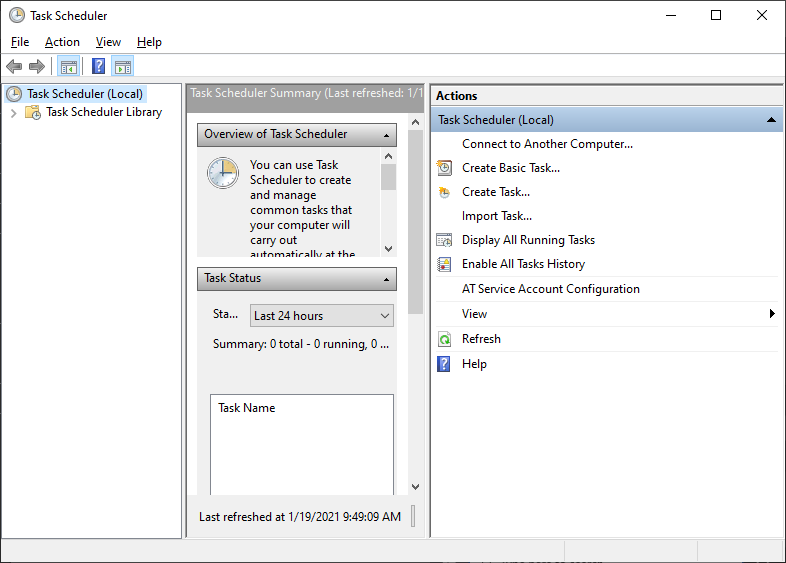
With either method, you should now have the Task Scheduler open and looking like:
To create the new task, click “Action” in the menubar and “Create Basic Task…” in the submenu.
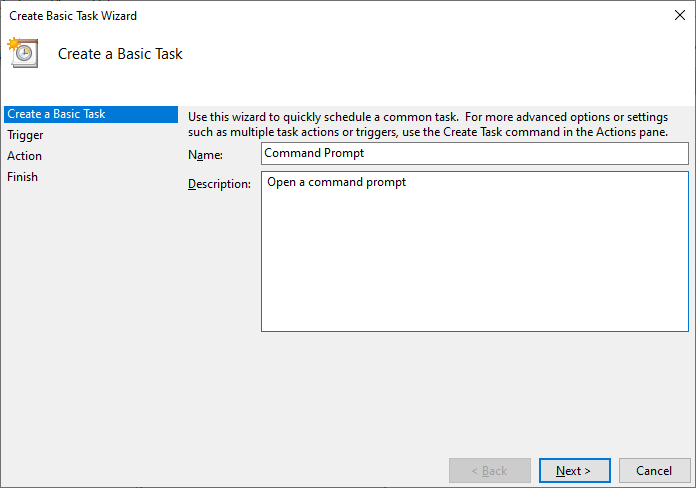
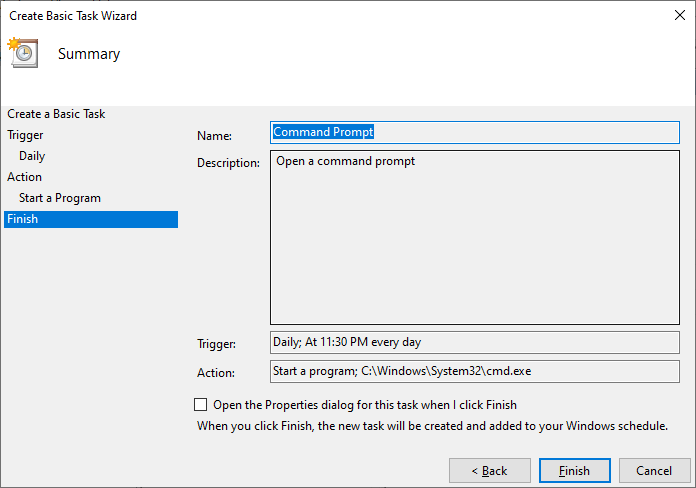
This will open the “Create Basic Task Wizard” shown below. Since we are going to create a task to open the command prompt, we entered “Command Prompt” in the Name: box and “Open a command prompt” in the Description: box. However, you should use whatever name and description are appropriate for your task.
Since we want to create a task to run a program every day, just click the “Next” button four times until we get to the “Start a Program” screen.
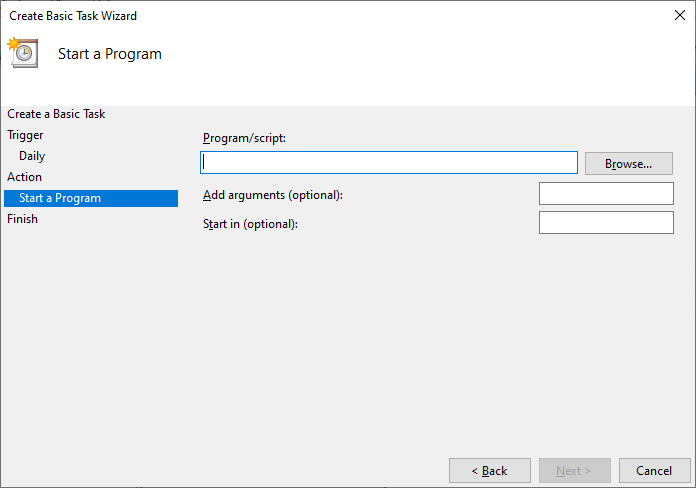
At this point, we can enter the file path to our application in Program/script: box or click the “Browse…” button to select the application program. Since we are going to use the command prompt program, our Program/script: is cmd.exe as shown below.
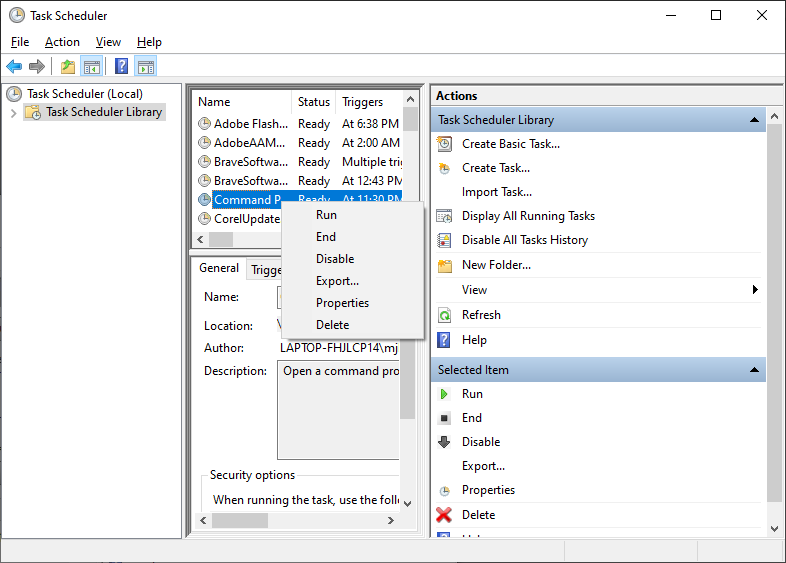
We can finish creating the task by clicking the “Finish” button. To see the task, you might need to click “Task Scheduler Library” as shown.
Now, we can right-click the new task in the list to show the context menu above. This allows us to “Run” or “Delete” the task as we so choose. Selecting “Run” will run the application and selecting “Delete” will take us through a confirmation dialog and then remove the task.
In this case, the image inside the svg, “Christ.png”, will not display because the image element will not allow the reference to the external file “Christ.png”.
However, this can be fixed in a few different ways:
Warning: 64 bit data URI encoded images can be quite long, even for a moderately-sized image. The text above was generate for the small 20 pixel by 20 pixel image shown here:
So, instead of our original svg element, we could use this one with a 64 bit encoded data URI:

 RSS
RSS Atom
Atom Feedburner