Bits & Bytes

Archive for the ‘Flash’ Category

Editing the Properties of an Object in Adobe Flash CS4

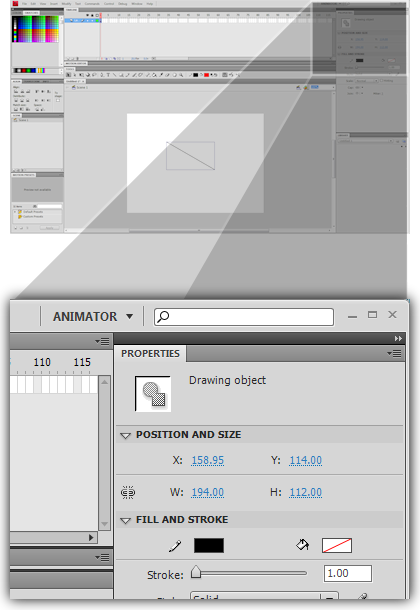
For this post, the layout that I am using is the Animator layout. You can select a layout from the drop-down menu in the top-right corner of the window.

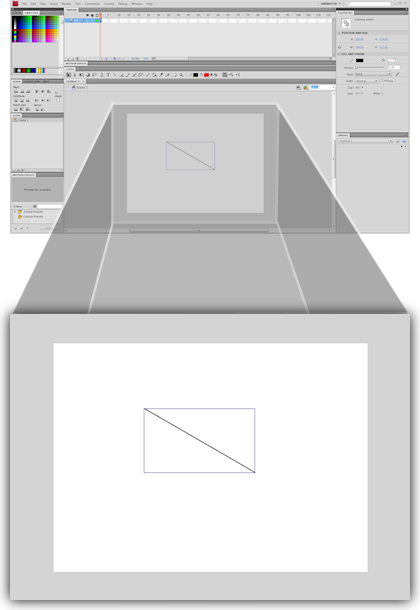
We want to show how to edit the properties of an object. To start, we have a newly created project open with a simple line drawn it (shown above). Make sure that line has is selected, as indicated by the rectangular selection box around the bounds of the line.

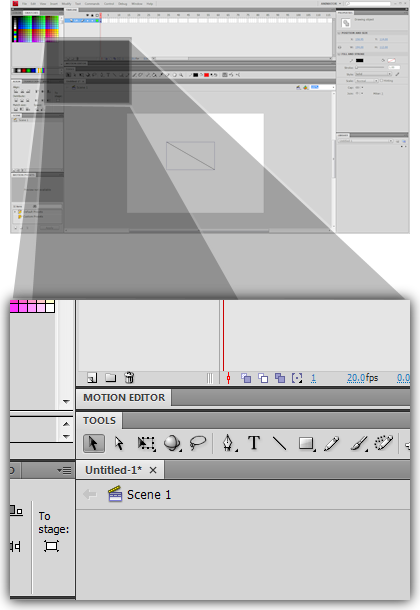
If the object is not selected, you can select it by left-clicking the Selection Tool in the Tools toolbar (shown above) and then left-clicking the object that you want to edit. Note that if you do not have the Tools toolbar open, you can open it by left-clicking Windows from the menubar and left-clicking Tools in the submenu.

Once you click, on the object, you should see the properties of the object in the Properties pane (shown above). If you do not see the Properties pane, you can open it by left-clicking Windows from the menubar and left-clicking Properties in the submenu. In the Properties pane, you can edit the properties of the object.

Creating a Simple Motion Tween in Adobe Flash

In this post, I demostrate how to create a simple motion tween, which is an interpolated animation in Flash. This example creates a rectangle that moves across the screen, just like the one above.


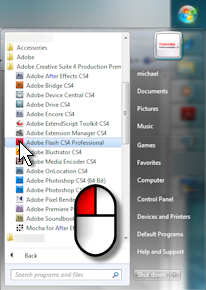
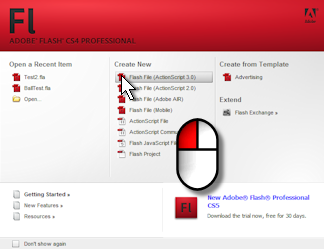
1. Left-click the Adobe Flash icon under the Start menu to Open Adobe Flash.


2. Under “Create New,” left-click “Flash File” with the latest version of Actionscript.


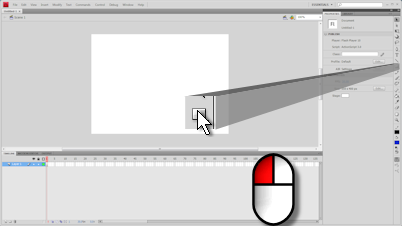
3. Left-click the “Rectangle Tool” from the tools toolbar.


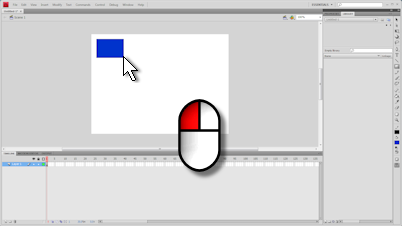
4. Left-click and drag to create a rectangle in the stage area.
5. Left-click “Selection Tool” in the tools toolbar.


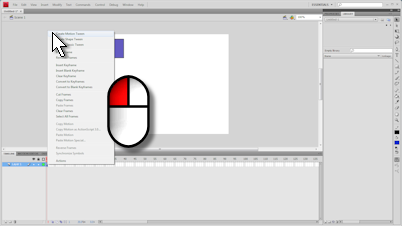
6. Right-click the first frame in the Timeline an left-click “Create Motion Tween” in the pop-up menu.


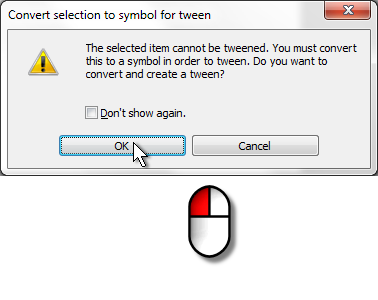
7. This will pop up a dialog that says “The selected item cannot be tweened. …” Left-click the “OK” button to create the tween.
8. Now you can left-click and drag the right end of the tween region to stretch it over as many frames as you wish. We will leave it at the default length of 24 frames, which is 1 second.


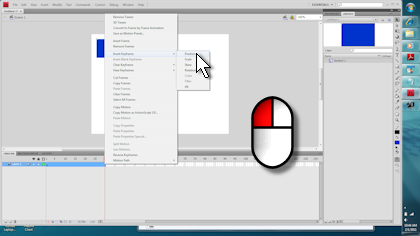
9. Right-click the last frame, the 24th in our case, and mouse over “Insert Keyframe” and left-click “Position” in the submenu. You should now see a dot in that frame to indicate a keyframe.


10. Grab and drag the rectangle to a desired destination and you should a path of dots from the original position to the new position.
11. These dots represent when the rectangle will be at the intermediate frames.
12. To see the animation, left-click “Control” in the menubar and “Test Movie” in the submenu. You should now see a new window with the animation running in it.


© 2007–2024 XoaX.net LLC. All rights reserved.