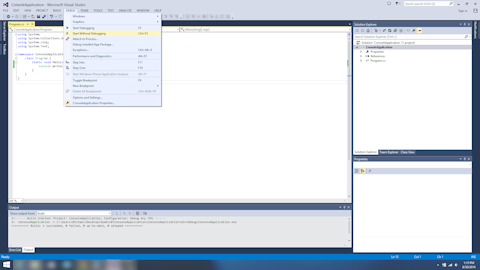
One of the first problems that new C++ programmers have is keeping the console window open when writing C++ programs. The easiest solution to this problem is to use the Start Without Debugging option under the Debug the when executing programs. Unfortunately, Microsoft took this option and many others out of the default menus in Visual C++ 2010. To get this option back, select Tools->Settings->Expert Settings. Otherwise, you can use press (Ctrl + F5) to select Start Without Debugging without the menu.
That’s the simplest option for keeping the console window open. However, if you want to keep the window open when running an executable that you create, you will need to add some code to suspend execution and keep the window open. Below, we show one example of how to keep the window open by adding this line of code before the return statement:
system("pause");
The one objection I have to this method is that the system() function is not part of the C++ standard and may not be valid with some C++ compilers.
#include <iostream>
int main()
{
using namespace std;
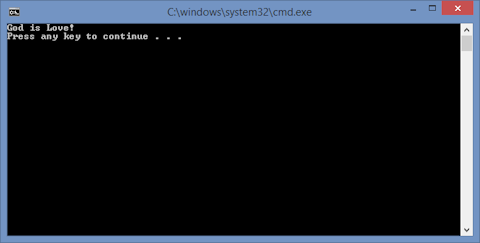
cout << "Hello World!" << endl;
system("pause");
return 0;
}
Alternatively, we could use cin.get(); to keep the window open like this:
#include <iostream>

int main()
{
    using namespace std;

    cout << "Hello World!" << endl;

    cin.get();
    return 0;
}
However, using cin.get() can have problems if input is taken directly before it. The problem is that the input in the stream carries over to the cin.get() and causes the program to exit. To prevent this, we can add a call to clear() and ignore(), as we do below.
#include <iostream>

int main()
{
    using namespace std;

    int iInt;
    cin >> iInt;
    cout << "Input = " << iInt << endl;

    cin.clear();
    cin.ignore(0xFFFFFFFF, '\n');
    cin.get();
    return 0;
}

 RSS
RSS Atom
Atom Feedburner