In this blog post, I demonstrate how to create a C# console application that can open a Windows Presentation Foundation window so that we can draw WPF graphics in a console program. The methodology is important because it can be used to add Windows Presentation Foundation classes to any type of C# project.
- To start, you should have a default C# Console Application project open. If you do not know how to create a C# console application project, you can consult our prior blog post on that topic.

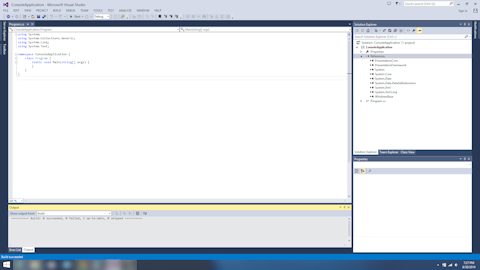
- Once you have a console application project open, it should have a Program.cs file with the following code inside it:
using System;
using System.Collections.Generic;
using System.Linq;
using System.Text;

namespace ConsoleApplication {
    class Program {
        static void Main(string[] args) {
        }
    }
}
As the namespace indicates, the project was created using the default project name ConsoleApplication.
- We need to change some of the code. Begin by replacing the lines
using System.Collections.Generic;
using System.Linq;
using System.Text;
with the line
using System.Windows;
- Directly after the line
class Program {add this line
[STAThread]
- Directly after the line
static void Main(string[] args) {add the following lines of code:
Window qWindow = new Window();
qWindow.Title = "WPF in Console";
qWindow.Width = 400;
qWindow.Height = 300;
qWindow.ShowDialog();
The final program should look like this
using System; using System.Windows; namespace ConsoleApplication { class Program { [STAThread] static void Main(string[] args) { Window qWindow = new Window(); qWindow.Title = "WPF in Console"; qWindow.Width = 400; qWindow.Height = 300; qWindow.ShowDialog(); } } } - That is all of the code. Next, we need to add the libraries that the program uses. To do this, right-click References in the Solution Explorer pane on the right of the screen, and left-click Add Reference… in the context menu that pops up.
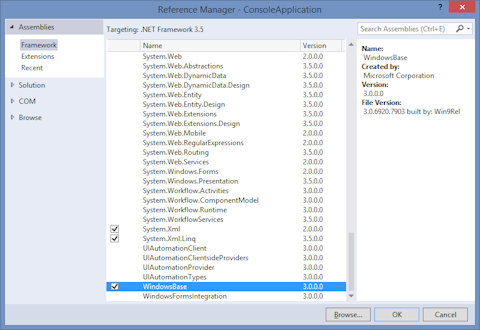
- That will open the Reference Manager dialog shown below. Navigate to Assemblies->Framework by left-clicking them, and then left-click the check boxes next to PresentationCore, PresentationFramework, and WindowsBase. Finish by left-clicking the OK button.

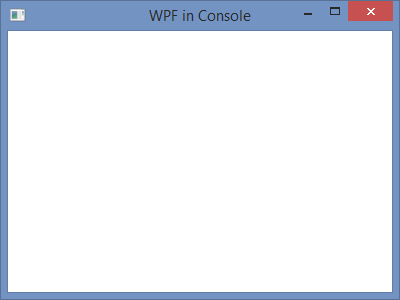
- Now the code and project are ready. To compile and execute the program, left-click DEBUG in the menubar and left-click Start Without Debugging in the submenu. When it finishes compiling, you should see this window:

Perhaps the most important line of code in this program is [STAThread]. Without this, you can not compile WPF code. STA stands for Single Threaded Apartment. It is a directive for COM. the Component Object Model. If that does not makes sense, feel free to ignore it.
The code inside the Main() function, creates a Window object, sets the text in the title bar, sets the size of the window to 400 by 300 pixels, and causes the window to be displayed with the call to ShowDialog().

 RSS
RSS Atom
Atom Feedburner