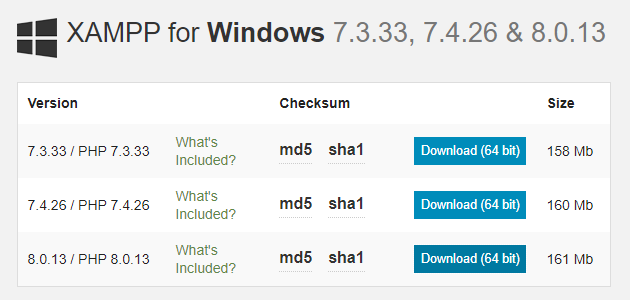
- Open a browser and search for "install XAMPP" to get to the installation page. It should be the first link that comes up. Click on it to get to the installation page where you should see several versions available. Choose the correct version for the Windows and click it.
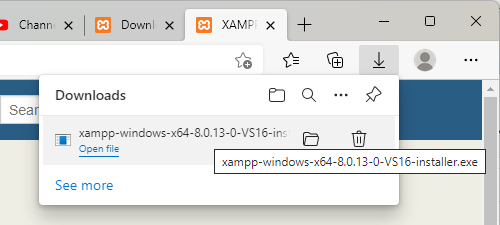
- This will open a new page and you should see the option "Open File" when the download is finished. If you miss that link, go to the download folder and double click the installer to run it.
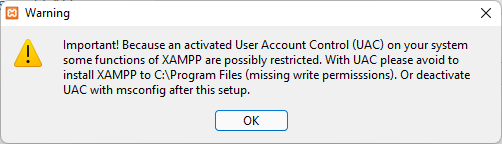
- You might see a warning and a UAC warning. Click through those to go on.
- This will open the installation Wizard:
- On the select components screen. Click the next button to go on.
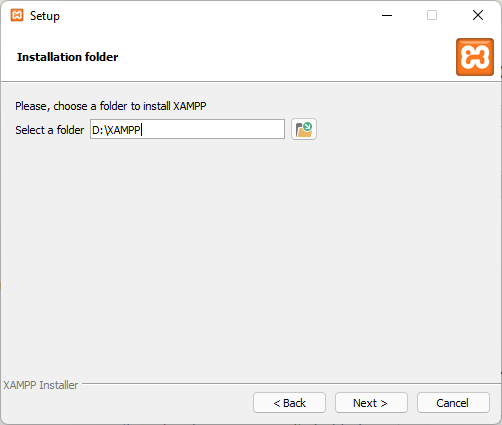
- On the installation folder selection screen. Select a location for he installation. Click the next button to go on.
- On the language selection screen. Click the next button to go on.
- On the binami screen. Click the next button to go on.
- On the ready to install screen. Click the next button one more time to begin the installation.
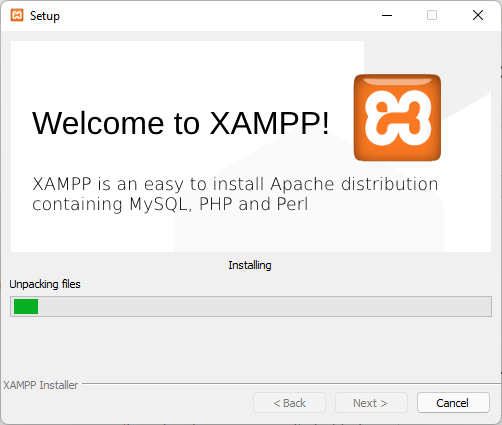
- This begins the installation. After a little while, you should see the screen indicating that the wizard was complete. Click the Finish button to complete it.
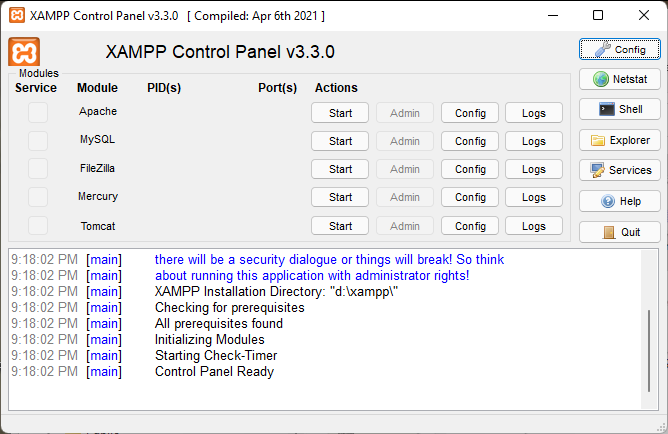
- This opens the control panel when the installation is complete.

Core Development
How to Install XAMPP for PHP
Overview
The purpose of this tutorial is to demonstrate how to install XAMPP so that it can be used to run PHP programs. The XAMPP installation contains several components, but the primary one that we are concerned with is the Apache web server which will be used to run PHP programs.
CONTENT; //For the support article = <<© 2007–2026 XoaX.net LLC. All rights reserved.