
Core JavaScript
Lesson 3 : Displaying an Image
Overview
In this JavaScript video tutorial, we demonstrate how to display an image using JavaScript. We also demonstrate how to display the same image using HTML and explain the relationship between the two.
Download Code
For this lesson, you will need an HTML file and a JavaScript file like the ones that we created in Lesson 1. We use a different JavaScript file, but our HTML file will be essentially the same, except for the filename and the name of the JavaScript file that it calls. In the video, we make changes to the HTML file in order to perform the same operations without JavaScript. These changes are reflected in the third code segment The final code files for this lesson are given below.
Lesson3.html
<!DOCTYPE html PUBLIC "-//W3C//DTD XHTML 1.0 Transitional//EN"
"http://www.w3.org/TR/xhtml1/DTD/xhtml1-transitional.dtd">
<html xmlns="http://www.w3.org/1999/xhtml" xml:lang="en" lang="en">
<head>
    <meta http-equiv="Content-Type" content="text/html;charset=utf-8" />
    <title>XoaX.net's Javascript</title>
</head>
<body>
    <script type="text/javascript" src="Lesson3.js"></script>
</body>
</html>
Lesson3.js
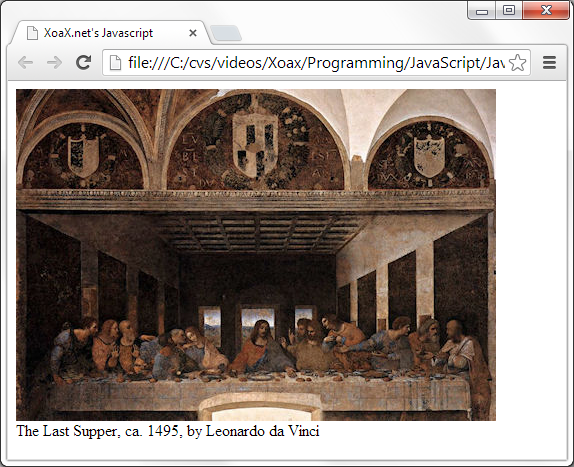
var qrLastSupper = document.createElement("img");
qrLastSupper.src = "LastSupperLeonardoDaVinci.jpg";
document.body.appendChild(qrLastSupper);
document.write("<br />The Last Supper, ca. 1495, by Leonardo da Vinci");
The JavaScript code above is very simple. It uses only three lines to display the image. The fourth line simply prints a text description in the same manner we have seen before.
The first line of code creates an image element object that is then stored in the variable qrLastSupper. Next, the JavaScript property qrLastSupper.src is set to store the filename of the image to be displayed: LastSupperLeonardoDaVinci.jpg. Then the image is set to be displayed inside the body by the call to appendChild(). Finally, a description of the painting in the image is printed under the image using the write() function.
Lesson3.html - HTML Equivalent
<!DOCTYPE html PUBLIC "-//W3C//DTD XHTML 1.0 Transitional//EN"
"http://www.w3.org/TR/xhtml1/DTD/xhtml1-transitional.dtd">
<html xmlns="http://www.w3.org/1999/xhtml" xml:lang="en" lang="en">
<head>
    <meta http-equiv="Content-Type" content="text/html;charset=utf-8" />
    <title>XoaX.net's Javascript</title>
</head>
<body>
    <img src="LastSupperLeonardoDaVinci.jpg" />
	<br />The Last Supper, ca. 1495, by Leonardo da Vinci
</body>
</html>
All of the former JavaScript code is equivalent to the HTML that we have placed inside the body tags above. After the first body tag, we have an image element with the src attribute set to LastSupperLeonardoDaVinci.jpg. In the next line, we have the image description inserted as plain text. So, we see that the JavaScript image element object, image element property, appendChild() function, and write() function are equivalent to the HTML image element, image element attribute, placing the code inside the body, and plain text, respectively.
It is not necessary to know HTML to follow our JavaScript lessons. We have provided the equivalent HTML code to eliminate some of the "magic" surrounding our use of JavaScript. If you interested in finding out more about HTML image tags, watch our HTML videos.
© 2007–2026 XoaX.net LLC. All rights reserved.