
Visual C++
Adding a New Header (.h) File 2010
This video shows how to add a header (.h) file to an existing Visual C++ project. Assuming that you have a project open, you can follow these instructions:
- To begin, right-click the Header Files folder in the Solution Explorer pane on the left, mouse over Add in the submenu, and left-click New Item.
- This will open the Add New Item dialog. Left-click Visual C++ in the left pane under Installed Templates. The left-click Header File (.h) in the middle pane.
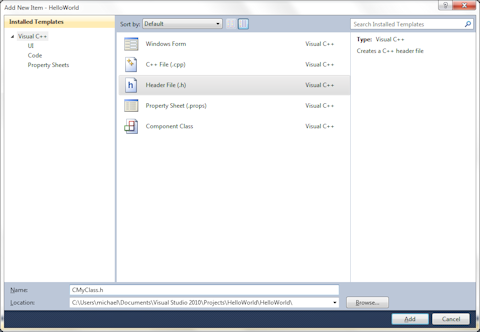
- Below this, left-click the box next to Name: and type "CMyClass.h" for a class named CMyClass, and left-click the Add button to go on.
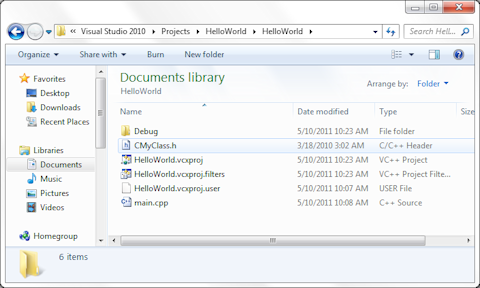
- The header file has now been added to the project and you should see it there. The file is actually located in the your project folder on your hard drive. If you open your project folder, you will see the new file there, as shown below.

© 2007–2026 XoaX.net LLC. All rights reserved.