
OpenGL C++
Lesson 7 : A Smooth Animation
Overview
This C++ OpenGL video tutorial demonstrates how to create a smooth animation, using the code from the previous OpenGL lesson. In OpenGL Lesson 6, we created a simple animation, but the methodology that we used does not produce smooth animations. Since it uses a single buffer for drawing, that method will often produce flickery animations. Moreover, the lack of timing control means that such animations will not run consistently across different machines. In fact, that method will typically produce jerky animations of varying speed as the computer running it changes processor usage.
Download Code
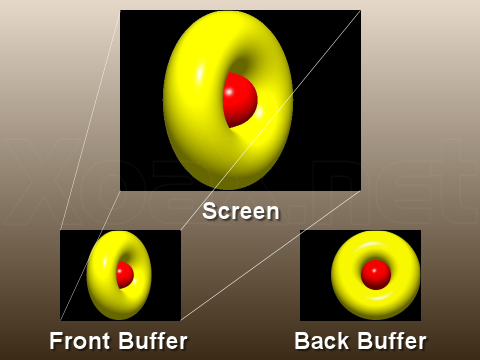
To fix the flickering problems, we add double buffering to the previous single buffer animation code. With double buffering, we use an additional back buffer for drawing our next frame. When we are finished drawing, the back buffer is switched to be the front buffer where it is used to update the screen. Doing this, prevents our drawing from being shown before it is complete.
Beginning with the code from lesson 6, we can make two simple changes to add double buffering to our animation. First, we change the display mode. To do this, replace the text "GLUT_SINGLE" in line 36 with "GLUT_DOUBLE" to enable double buffering. After this, we need to add the buffer switching. To do this, change line 19 from "glFlush();" to "glutSwapBuffers();" to swap buffers when Draw() is called. Note that glutSwapBuffers() also calls glFlush(), so we can make this simple replacement. Also, you may need to adjust the value of gfDeltaX in line 10 to account for the slower speed with double buffering.
With the double buffering complete, we move on to add in a timed delay to make our rendering consistent. For this, we can use the function glutTimerFunc() to set a function to be called after a specified time. The function glutTimerFunc() takes three arguments: the first is the time in milliseconds, the second is the function that will be called, and the third is the an integer value that is passed into the function when it is called. For our purposes, we will not make use the third argument, and we will simply pass in zero.
void Timer(int iUnused)
{
    glutPostRedisplay();
    glutTimerFunc(30, Timer, 0);
}
To our double buffered code, we can add in our timed delay. First, we add in a timed callback function that sends a redisplay message and then a timed callback to itself. To do this, we add the Timer() function code above directly before our Initialize() function. To initialize our animation loop, we need to call Timer() directly. To do this, we add this line "Timer(0);" directly before "glutMainLoop();" in the main() function. Finally, we should remove the line "glutPostRedisplay();" from the Draw() function, since it is now called in Timer().
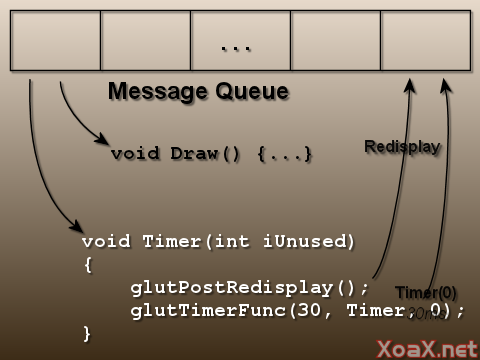
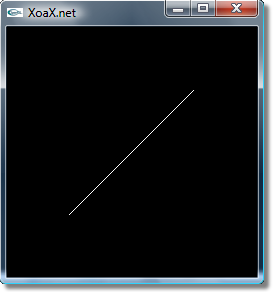
With this, we have our new program with a timed animation loop. The new animation loop is shown above with the Timer() and Draw() functions and the Message Queue. The final code and project can be downloaded from the Download link above next to the video player. Compiling and executing the code, gives us an animation similar to the previous lesson. However, this animation is smoother, and the speed can be controlled by changing the first parameter in the call to glutTimerFunc().
© 2007–2026 XoaX.net LLC. All rights reserved.