
OpenGL C++
Lesson 4 : Basic Lighting
Overview
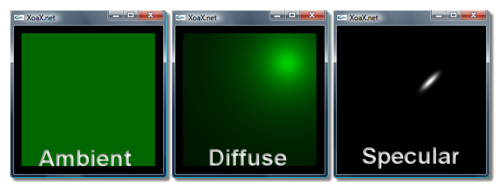
In this video, we use OpenGL to demonstrate the local illumination model that we covered in our previous Graphics 3D lesson on basic local illumination. That video explained the ambient, diffuse, and specular components of the lighting model and the type of effects that each represents.
Download Code
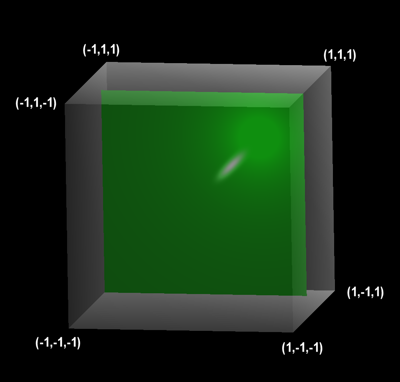
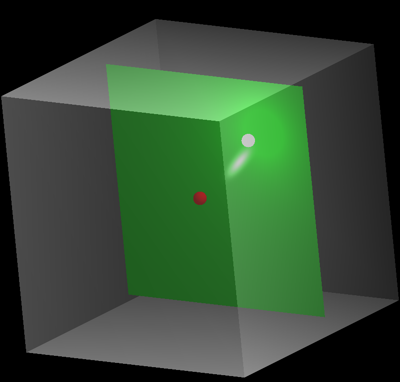
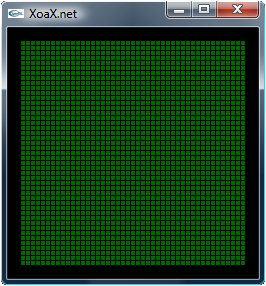
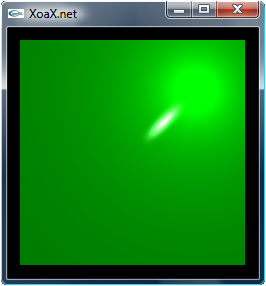
In OpenGL, we set lighting and material properties in order to illuminate polygonal surfaces. To calculate the lighting at a vertex, we need the position that we view from, the normal vector, an active light source, lighting properties, material properties, and to have lighting enabled. To simply the settings, we use a single square as our polygonal surface for this lesson. The square is actually a grid of squares to reflect light more accurately; the reasoning become more apparent when we cover shading.
Although OpenGL allows for multiple light sources, we use a single light source for simplicity (GL_LIGHT0). The ambient component is set to .2, which correspond to a dimly light environment. The diffuse component is .8—typically ambient and diffuse components sum to 1, unless a dimmer environment is required. If the ambient and diffuse components sum to more than 1, then saturation will occur and give an unrealistic appearance. The specular component is set to 1. These components have separate red, green, and blue color channels. However, it is usually best to leave them all equal as this represents white light, which is what most light sources are. The ambient, diffuse, and specular components are set via calls to glLight(), as is the light's position.
In addition to lighting properties, each polygon has material properties which are set via calls to glMaterial(). These properties are the amount and type of ambient, diffuse, and specular light that the surface reflects. The ambient and diffuse properties model the color of the surface, while the specular property will usually reflect white light. Also, the size of specular highlights, or shininess, is set this way. Fortunately, these values only need to be set when the surface type changes. So, we only set them once in this lesson.
Before any lighting takes place, the lighting model needs to be enabled via a call to glEnable() with the parameter GL_LIGHTING. Lights must also be enabled with glEnable(), and we use this to enable GL_LIGHT0: the first light. We set the lighting model to use a local viewer via a call to glLightModel(). The discussion of lighting models is fairly involved and will be taken up in a later lesson.
© 2007–2026 XoaX.net LLC. All rights reserved.