
OpenGL C++
Lesson 1 : A Simple OpenGL Project
Overview
This lesson begins our C++ OpenGL video tutorial series. In this lesson, we create a basic OpenGL project to show how to set up the GLUT library files for development. At this point, we are skipping over the programming to focus getting the environment set up for programming OpenGL projects. Details are shown in the video. Here, we give a text description of the set-up process.
Download Code
- Begin by creating a console project, like the one we created in C++ Console Lesson 1. However, we call the project "OpenGLLesson1," instead of "HelloWorld."

- After adding main.cpp to the project, copy the code segment below to the file instead of our "HelloWorld" program.
// A Simple OpenGL Project // Author: Michael Hall // // This C++ code and project are provided "as is" // without warranty of any kind. For personal use only, // not for distribution. Copyright 2010 XoaX. #include <glut.h> void Draw() { glClear(GL_COLOR_BUFFER_BIT); glColor3f(1.0, 1.0, 1.0); glBegin(GL_LINES); glVertex3f(0.25, 0.25, 0.0); glVertex3f(0.75, 0.75, 0.0); glEnd(); glFlush(); } void Initialize() { glClearColor(0.0, 0.0, 0.0, 0.0); glMatrixMode(GL_PROJECTION); glLoadIdentity(); glOrtho(0.0, 1.0, 0.0, 1.0, -1.0, 1.0); } int main(int iArgc, char** cppArgv) { glutInit(&iArgc, cppArgv); glutInitDisplayMode(GLUT_SINGLE | GLUT_RGB); glutInitWindowSize(250, 250); glutInitWindowPosition(200, 200); glutCreateWindow("XoaX.net"); Initialize(); glutDisplayFunc(Draw); glutMainLoop(); return 0; } - Left-click this link from Nate Robins' web page to open the "File Download" dialog. Then left-click the "Save" button to open the "Save As" dialog.
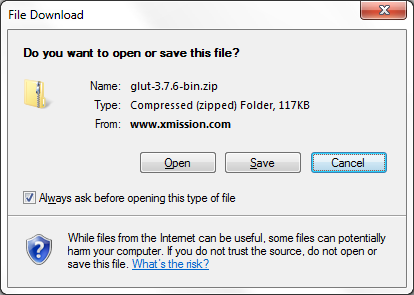
- In the "Save As" dialog, navigate to the folder "C: emp" (Create the folder if it does not already exist). Then left-click the "Save" button in the "Save As" dialog to download the file.
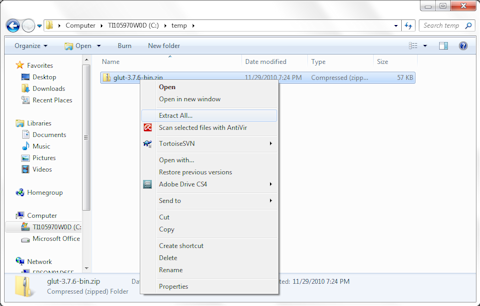
- Once the download finishes, left-click the "Open Folder" button to open the folder "C: emp". Then right-click the file glut-3.7.6-bin.zip and left-click "Extract All..." from the pop-up menu.
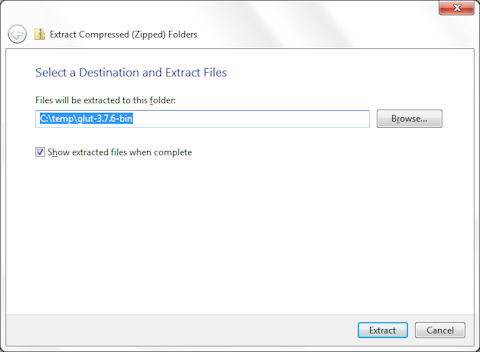
- This will pop up the extraction dialogue shown here. Left-click the "Extract" button to decompress the files and open the folder with the extracted files in it.
- Double-click the folder "glut-3.7.6-bin" to open the folder where these GLUT files are located: (image)
- First, open the include directory, which by default is located here: "C:\Program Files (x86)\Microsoft Visual Studio 10.0\VC\include". Left-click the file glut.h and drag it into the include folder.
- Next, open the lib directory, which by default is located here: "C:\Program Files (x86)\Microsoft Visual Studio 10.0\VC\lib". Left-click the file glut32.lib and drag it into the lib folder.
- Finally, open the system directory, which by default is located here: "C:\Windows\system". Left-click the file glut32.dll and drag it into the system folder.
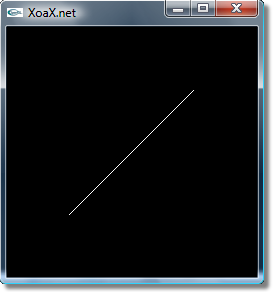
- To run the program, left-click "Debug" in the menubar and left-click "Start without Debugging" in the submenu. When the program is finishes compiling and executes, you should see a window with a line drawn in it.
© 2007–2026 XoaX.net LLC. All rights reserved.