
Core C++
Lesson 1 : Creating a Console Application in Visual Studio 2019
In this C++ video tutorial, we show how to create a simple C++ project in Visual Studio 2019 and compile a simple program. These steps will be used at the start of most of the remaining videos. To follow along with this lesson, you will need to have Visual Studio 2019 installed.
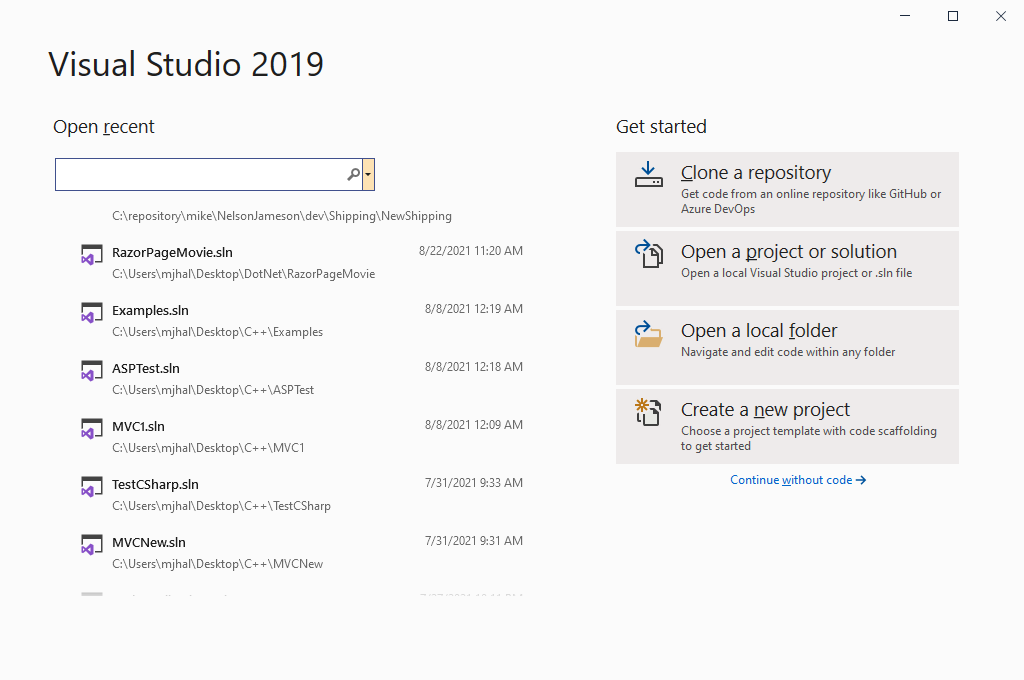
- To begin, open the "Start" menu and find the icon for Visual Studio 2019. Left-click the icon to open Visual Studio.
- This opens the dialog shown here. Next, left-click "Create a new project" in the dialog.
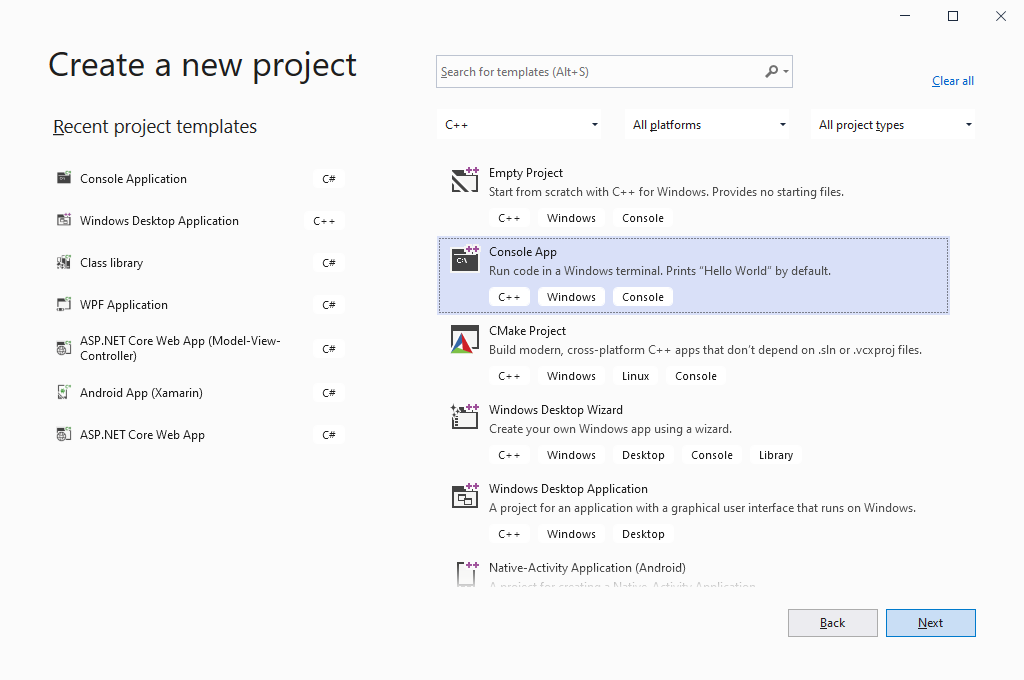
- This opens the "Create a new project" dialog as shown. Find the C++ "Console App" project template and left-click it. Then left-click the "Next" button to go on.
- This opens the "Configure your new project" dialog. Enter "HelloWorld" or whatever you like as the Project name.
- Then choose the location where you would like the to create the project. When you are ready, left-click the "Create" button.
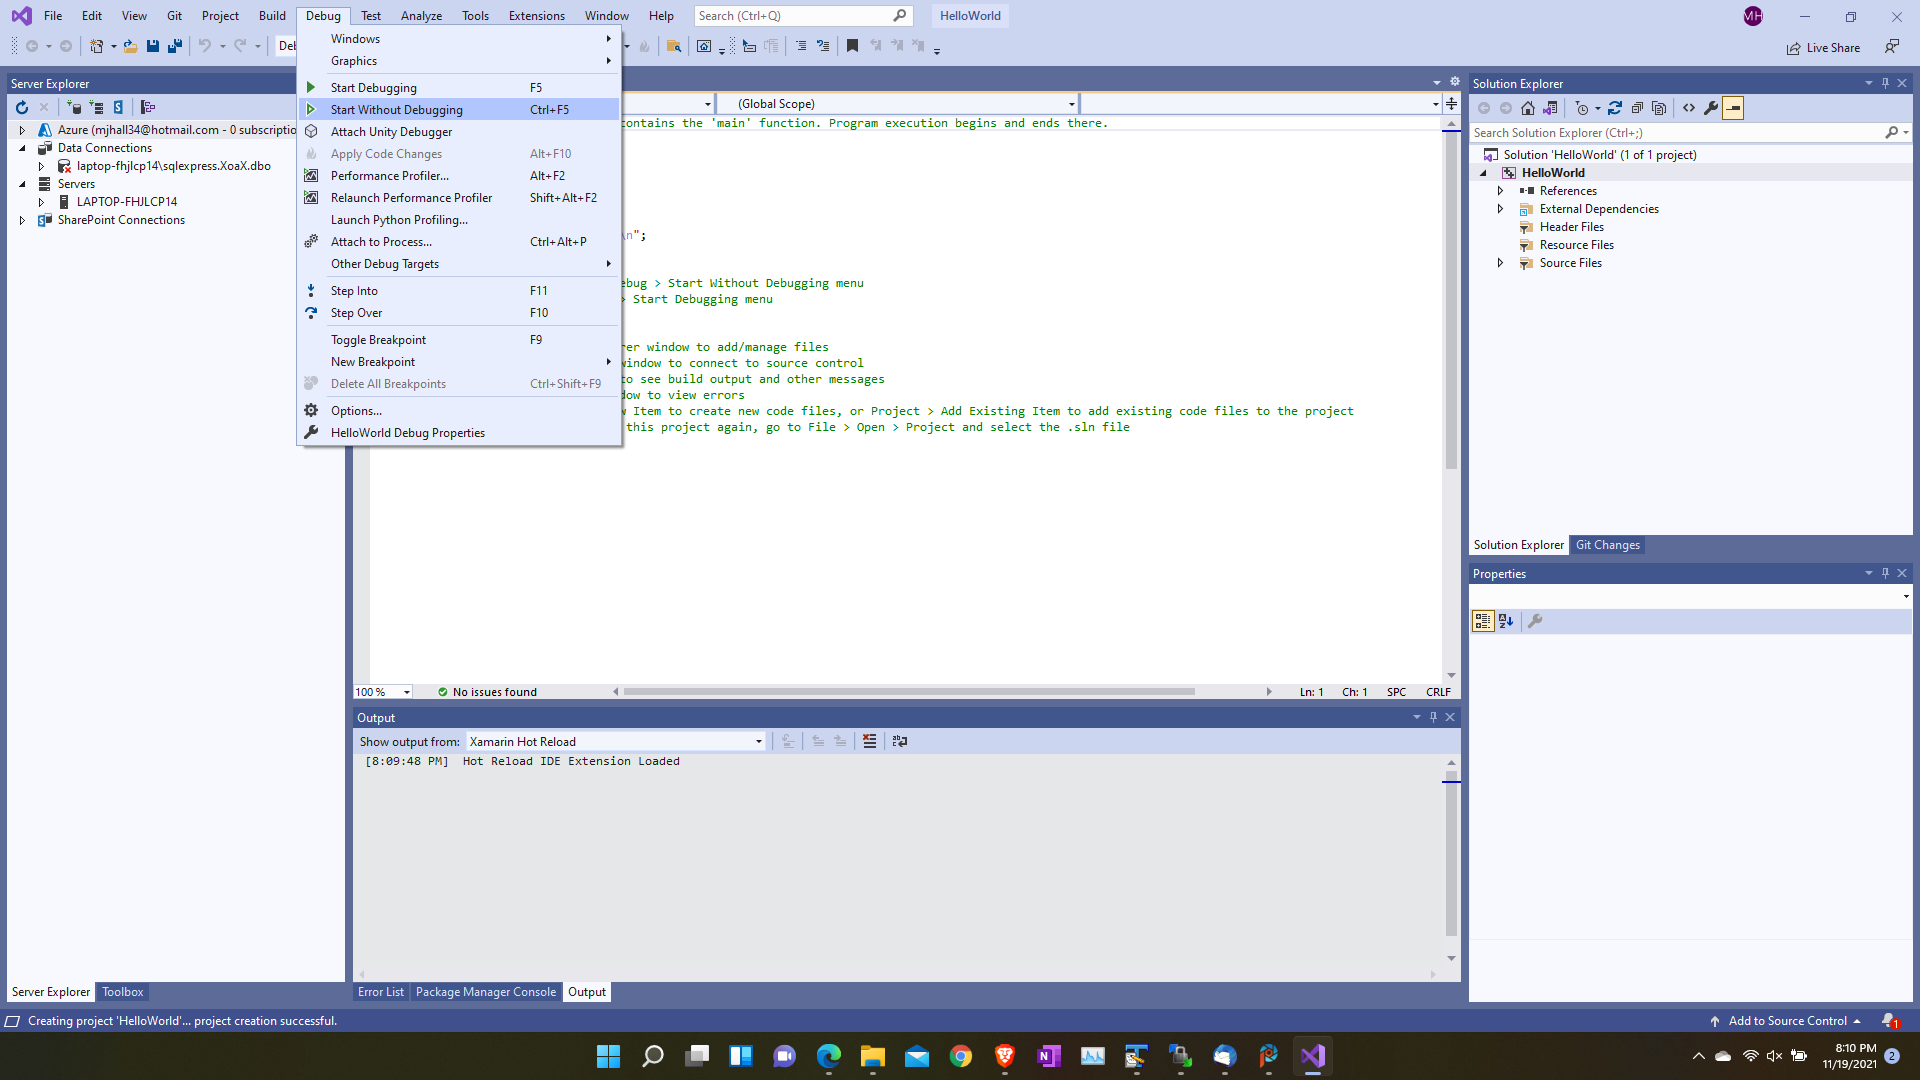
- This opens the new console C++ project. The code below is automatically included in the code file for the "Hello World" program:
#include <iostream> int main() { std::cout << "Hello World! "; } - From the menubar, left-click "Debug" and left-click "Start Without Debugging" in the submenu to compile and execute the program.
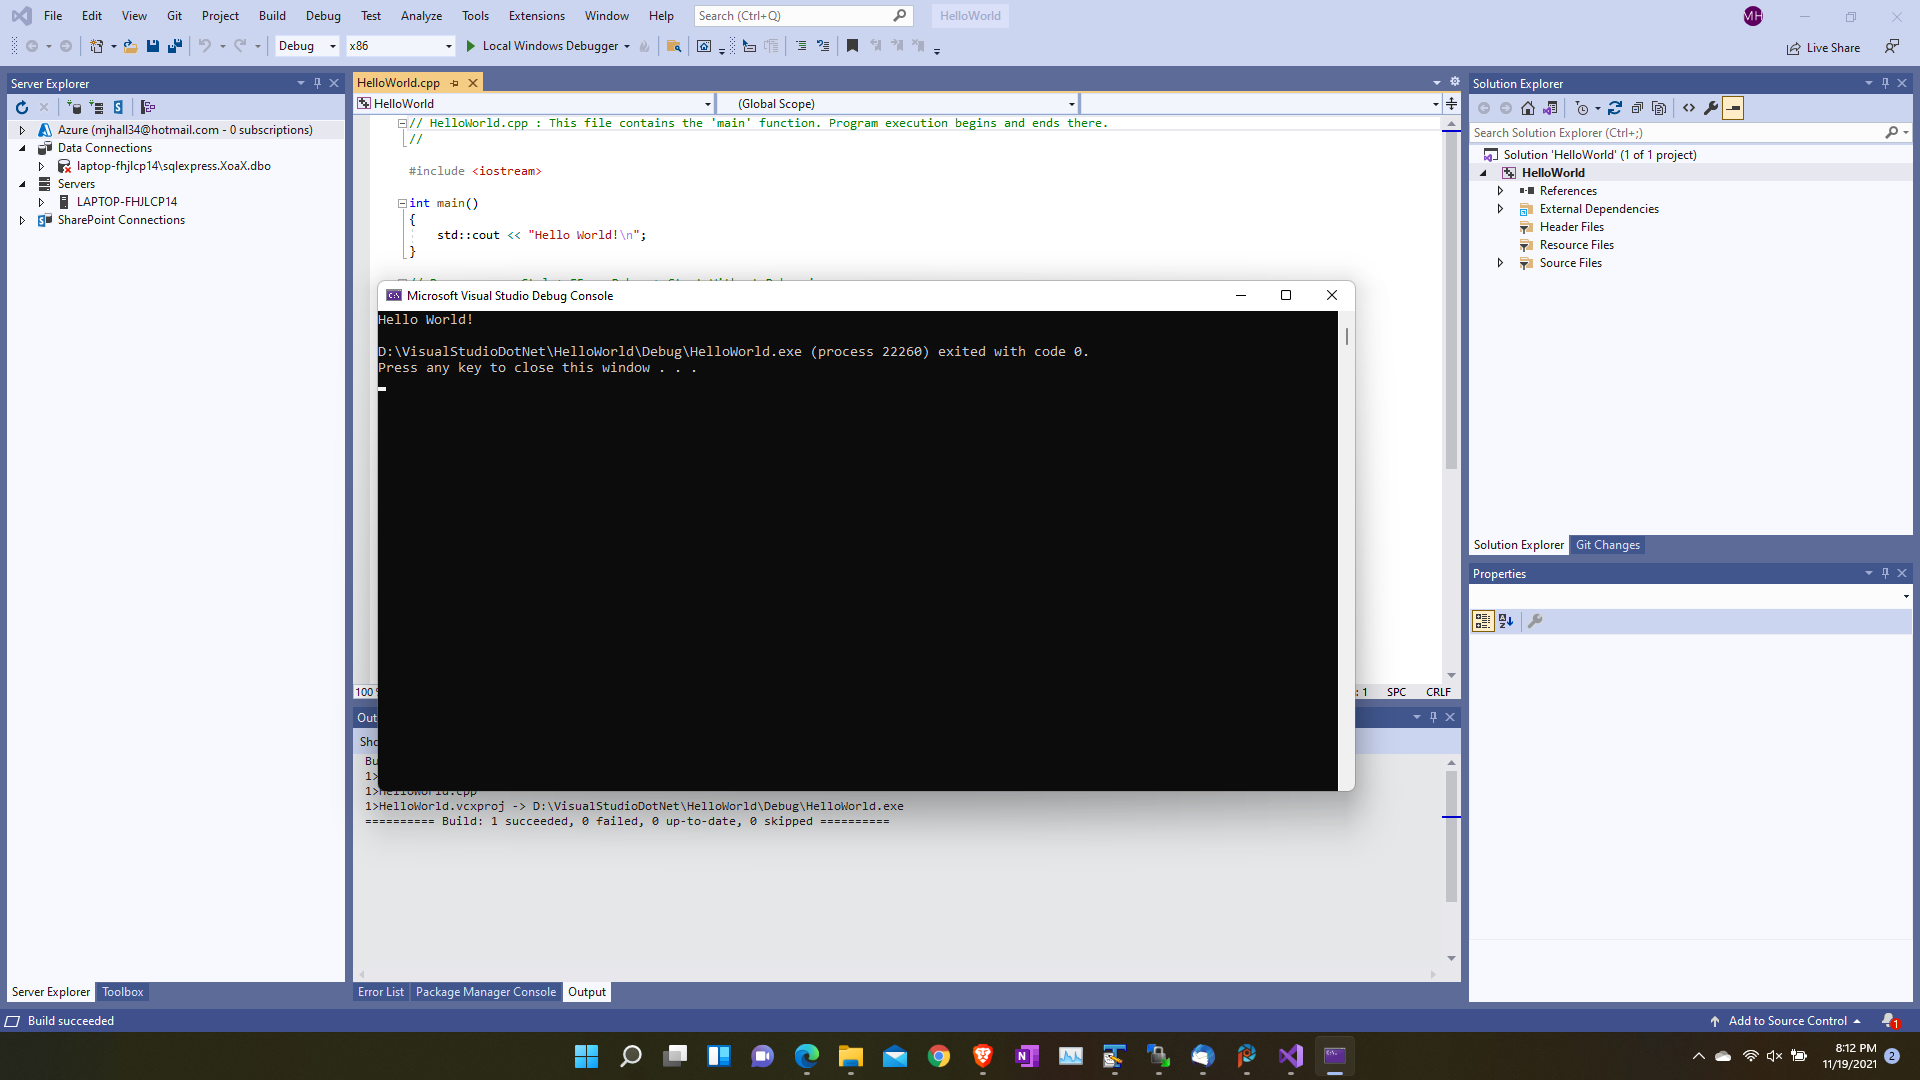
- Now the program should run and open the black console window with the message "Hello World!" displayed as shown.
© 2007–2026 XoaX.net LLC. All rights reserved.