
Core C++
Lesson 0 : Installing Visual Studio
In this C++ video tutorial, we demonstrate how to install Microsoft's Visual Studio Express 2012. Visual Studio is a free C++ compiler and Integrated Development Environment (IDE) that we use to write, compile, and execute C++ programs.
- To begin, open a browser and navigate to Microsoft's download page: http://www.microsoft.com/visualstudio/eng/downloads
- Left-click the link for Visual Studio Express 2012
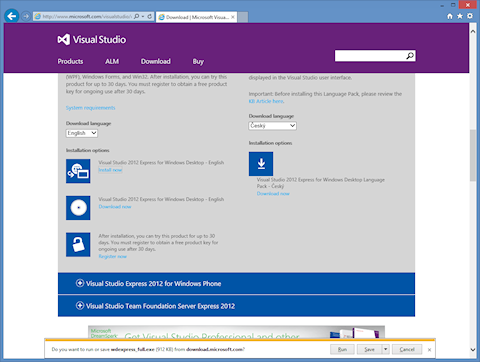
- This will bring you to a screen with large blue bars. Left-click the plus sign next to Visual Studio Express 2012 for Windows Desktop to open the download options.
- Scroll down a little and you should see a link labeled "Install Now." Left-click to begin the installation.
- At this point, you may see a warning in a bar at the bottom of the browser window. Left-click the "Run" button inside the bar to continue the installation.
- This should bring up a black window with the license terms in it. Left-click the box to agree to the terms.
- Once you check the box to agree to the license terms, a large "Install" link will slide out of the bottom of the window. Left-click the "Install" link.
- After you click the install link, you may see a message box asking if you want to allow the program to make changes to your computer. Left-click the "Yes" button to go on.
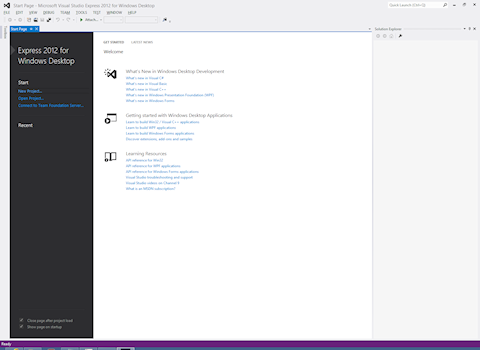
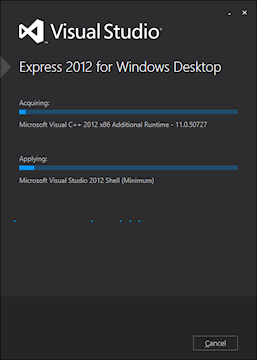
- This will begin the installation, and you should see two progress bars. After a while, the installation will finish, and you will see a large "Launch" link at the bottom of the window. Left-click it to continue.
- At this point, you should see a dialog telling you that you need to register the product within 30 days to continue using it. I recommend registering it now as a matter of convenience. Left-click the "Register online" link to begin the registration.
- When you finish the registration, you will receive a "Product key" that consists of 25 letters and numbers. Enter that key into the box under the label "Product key" and left-click the "Next" button to continue.
- Again, you may see a message box asking if you want to allow the program to make changes to your computer. Left-click the "Yes" button to go on.
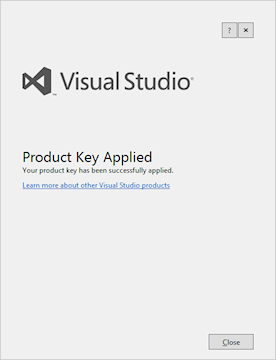
- After this, the dialog will say "Product Key Applied." Left-click the "Close" button at the bottom of the window.
- Now a progress bar with show briefly as the program sets up. Once this is done, the IDE will open and you are ready to begin programming.
© 2007–2026 XoaX.net LLC. All rights reserved.